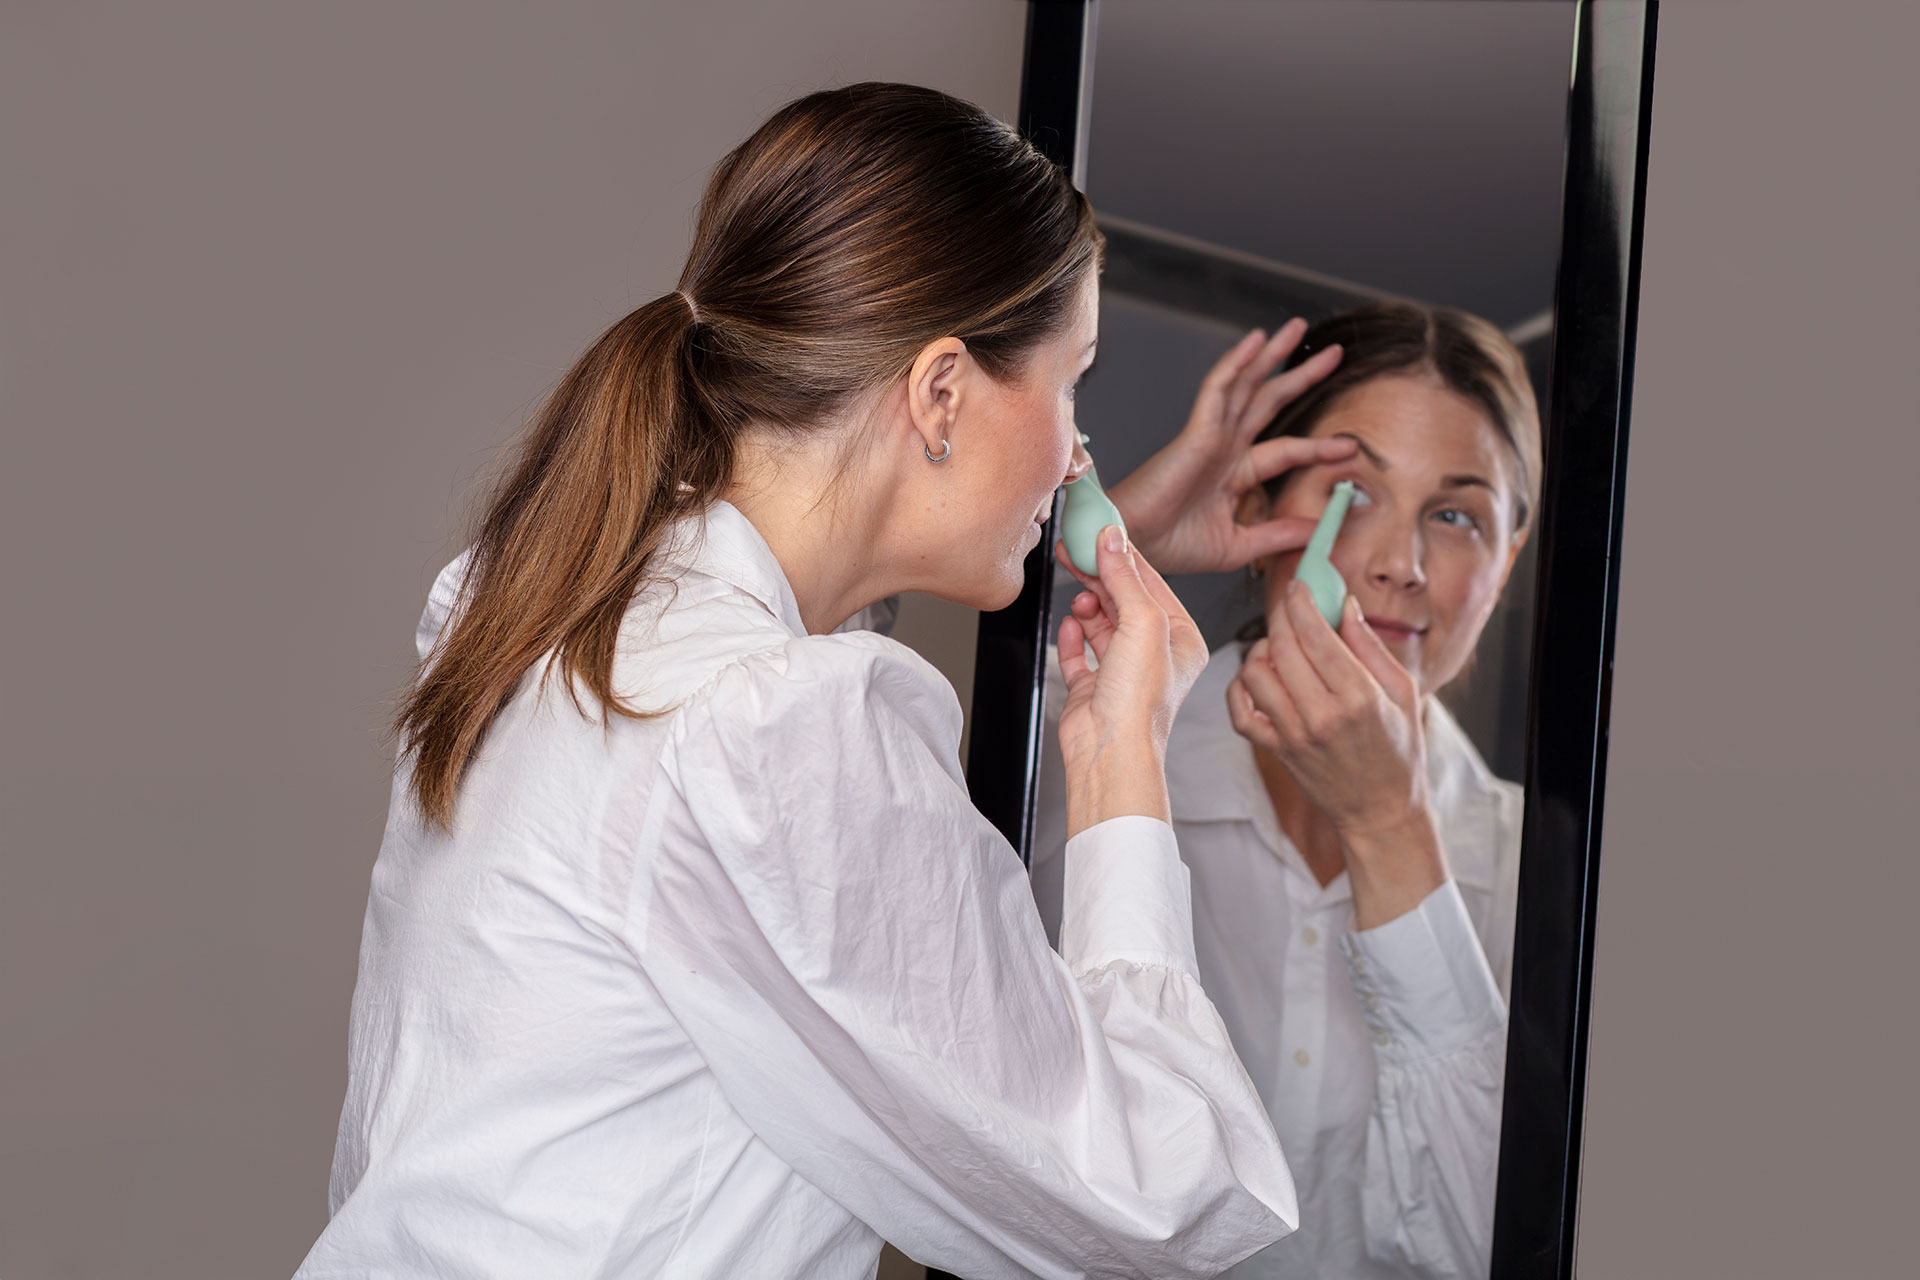
User guide for inserting and removing contact lenses using the Easy On Off lens tool.
It is important that you follow the instructions provided by your contact lens fitter regarding the use and care of your contact lenses and case.
Before putting on and/or removing contact lenses, it is important that you wash your hands thoroughly with soap and water and dry them thoroughly. The tool must be cleaned beforehand with approved disinfectant and be completely dry. It is recommended to clean the tool after removal so that it can air dry until the lenses are put back on. NB! The tool can be disinfected by boiling for up to 3 minutes. NB! Preferably keep both eyes open when using the tool
Application:
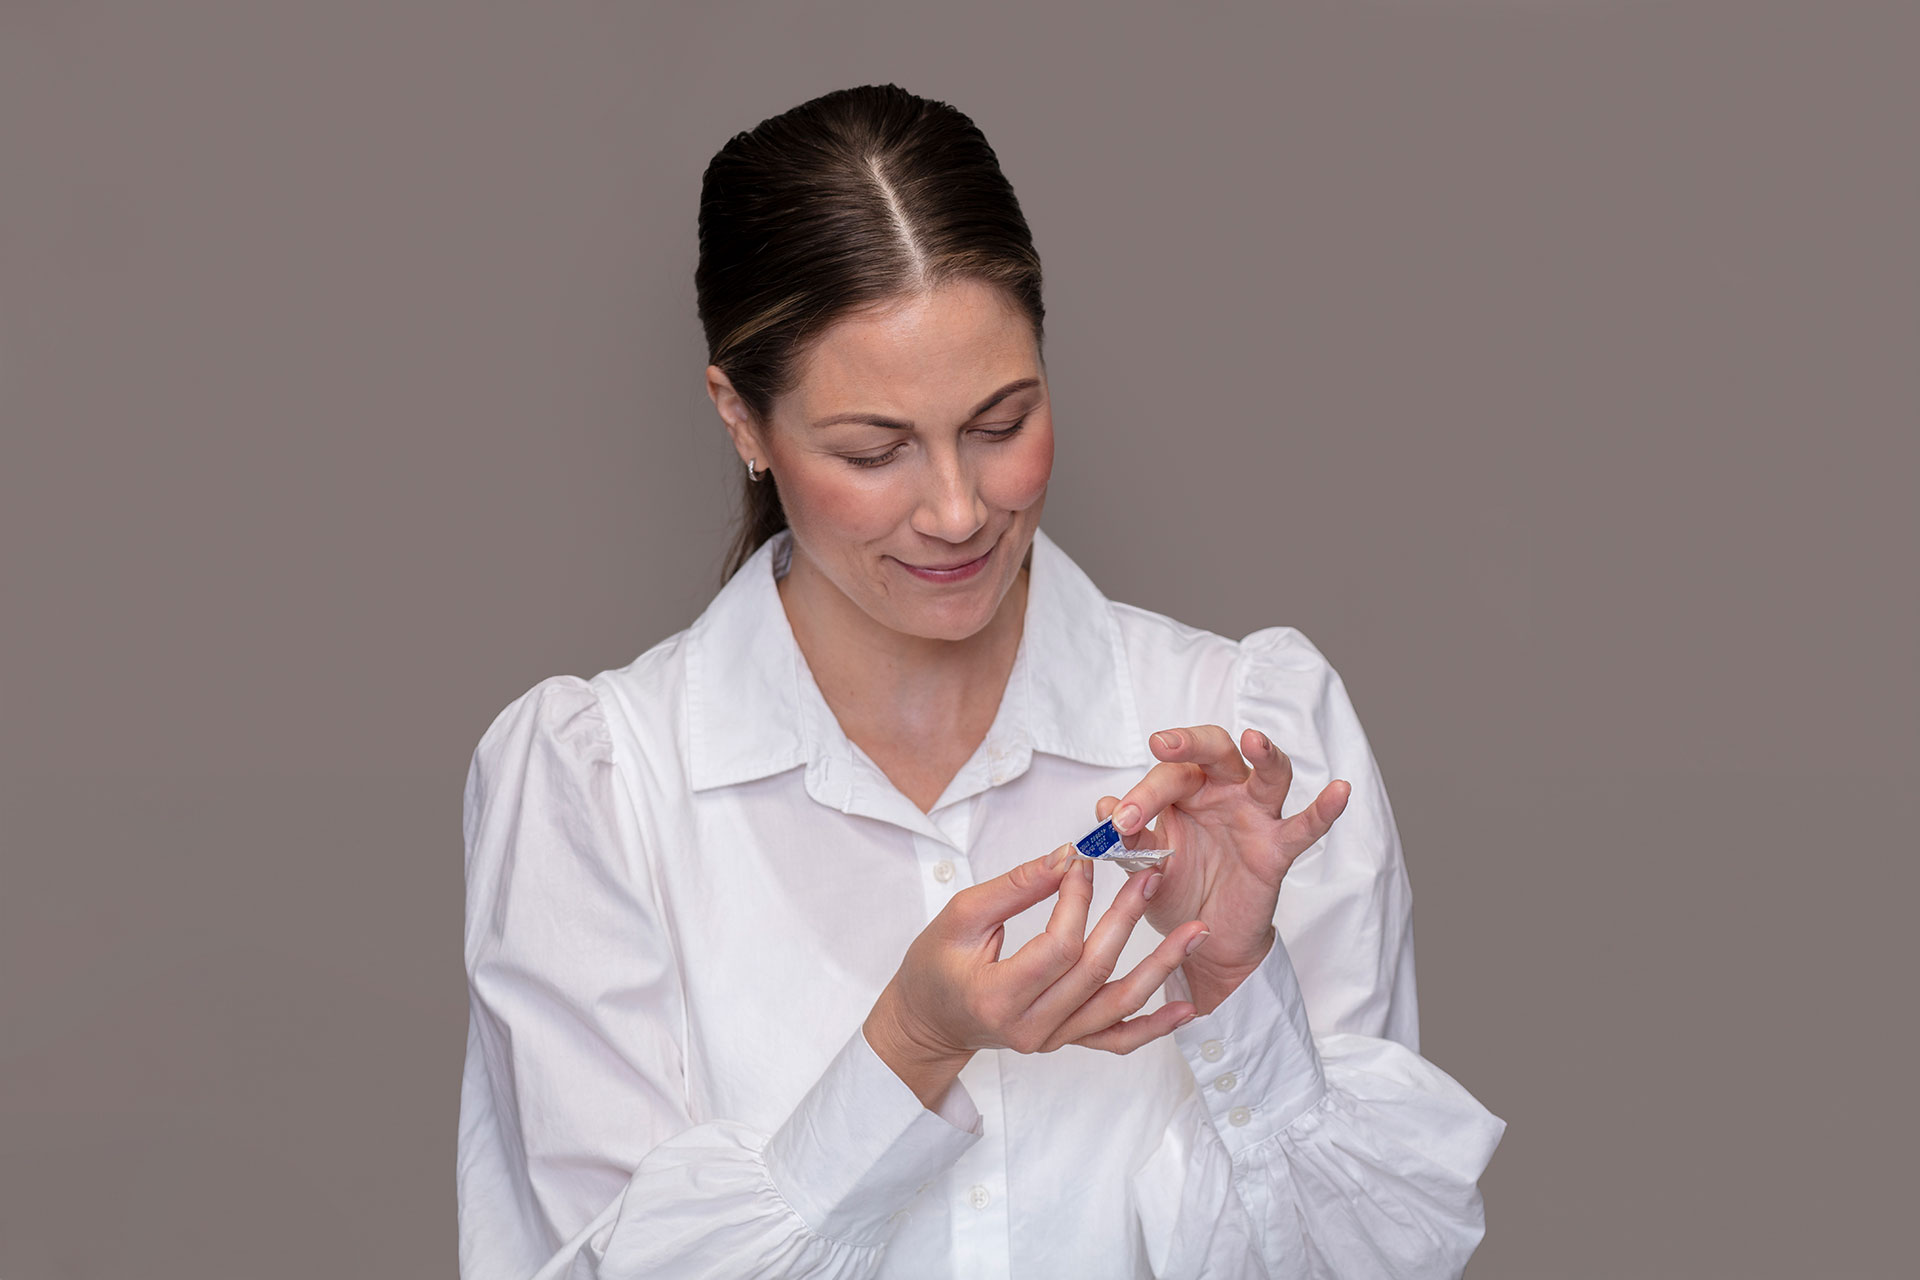
1. Place a mirror (preferably one with magnification) on a colored towel (this makes it easier to find the contact lens if it falls out).
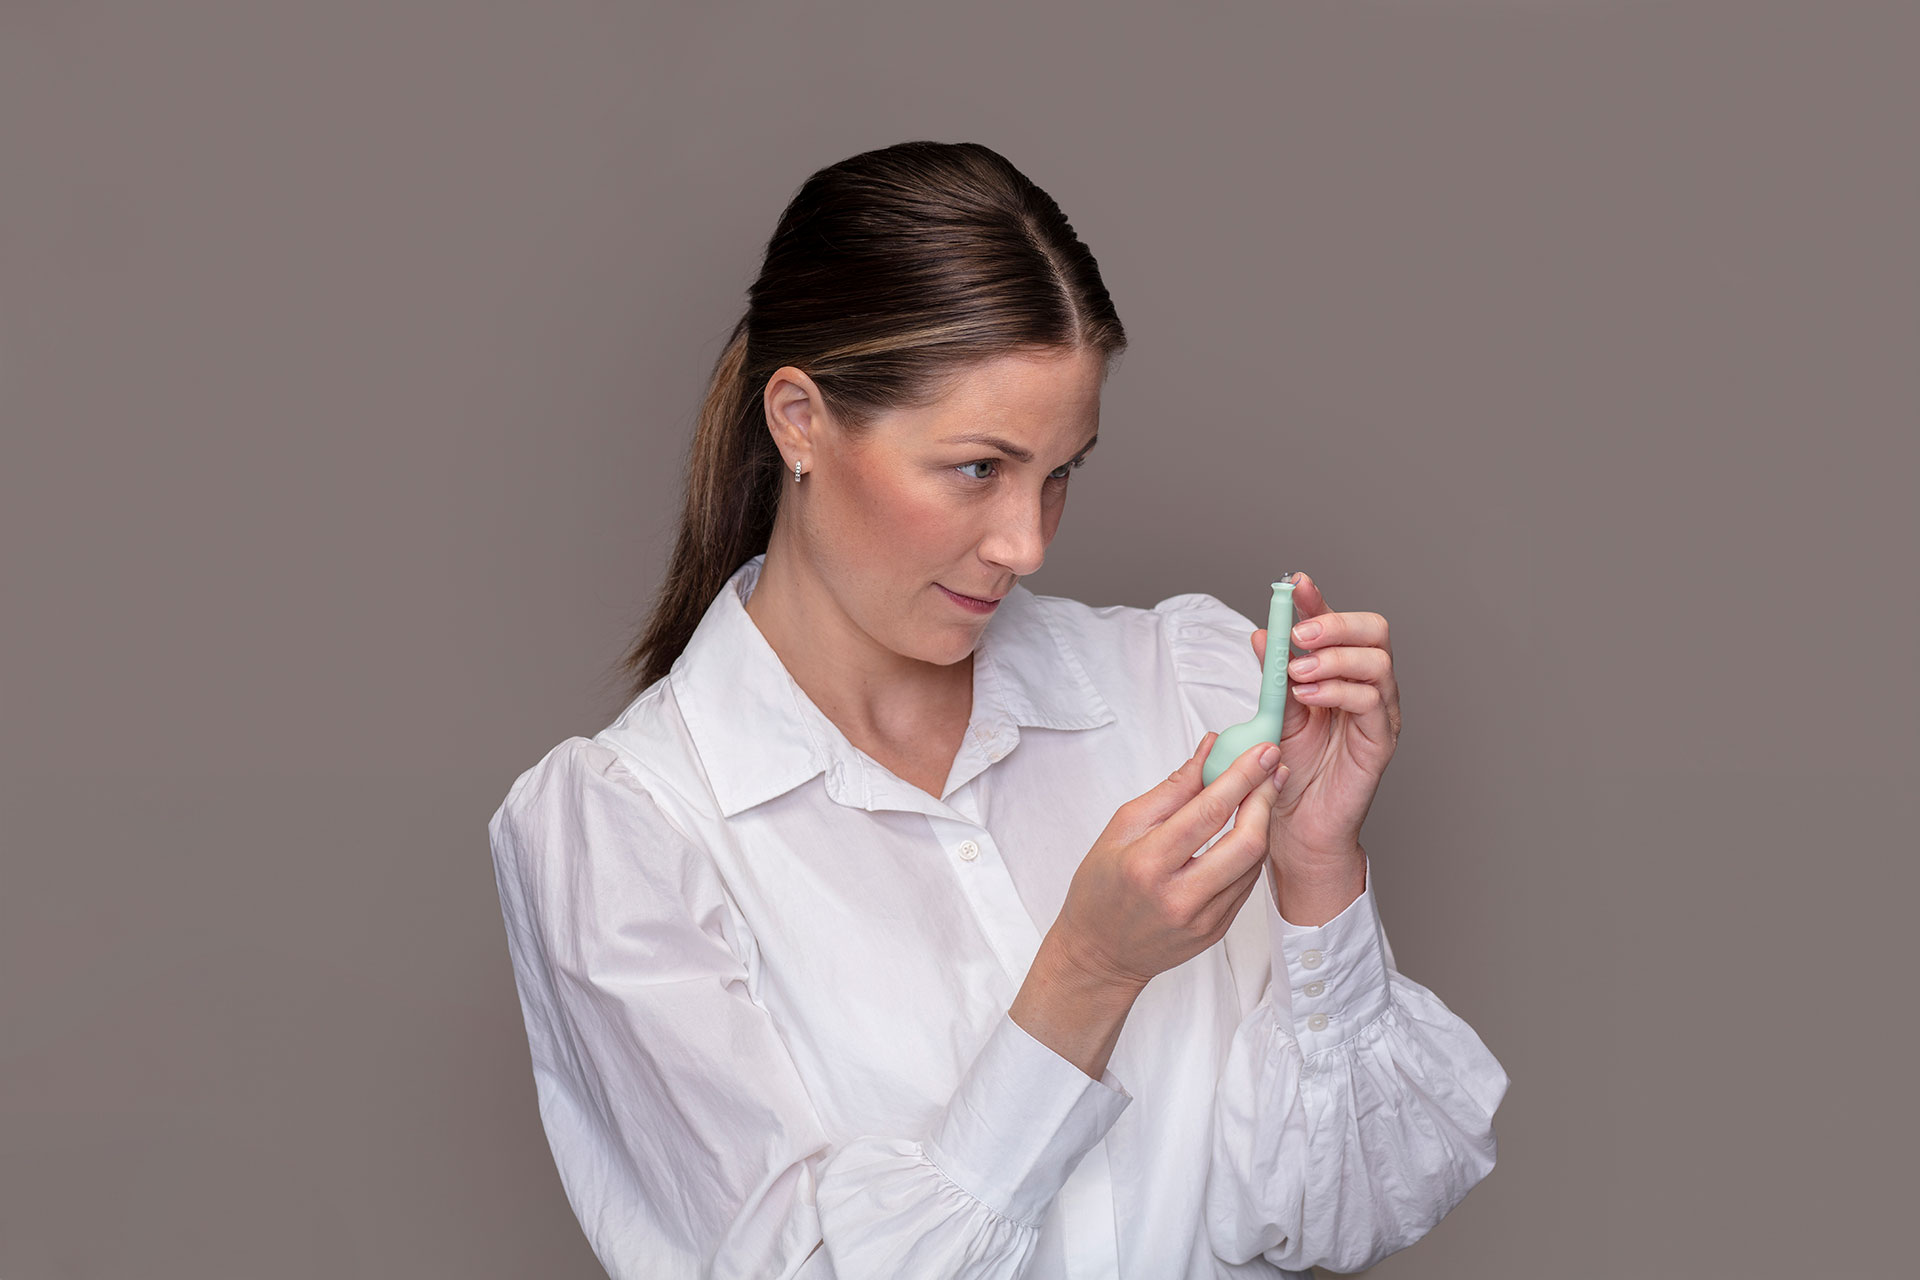
2. Sit at the table, holding the thick part (bellows) of the tool with your thumb on the eye mark and the end pointing towards your palm. Use the hand you are writing with, or the hand that is most steady, to hold the tool.
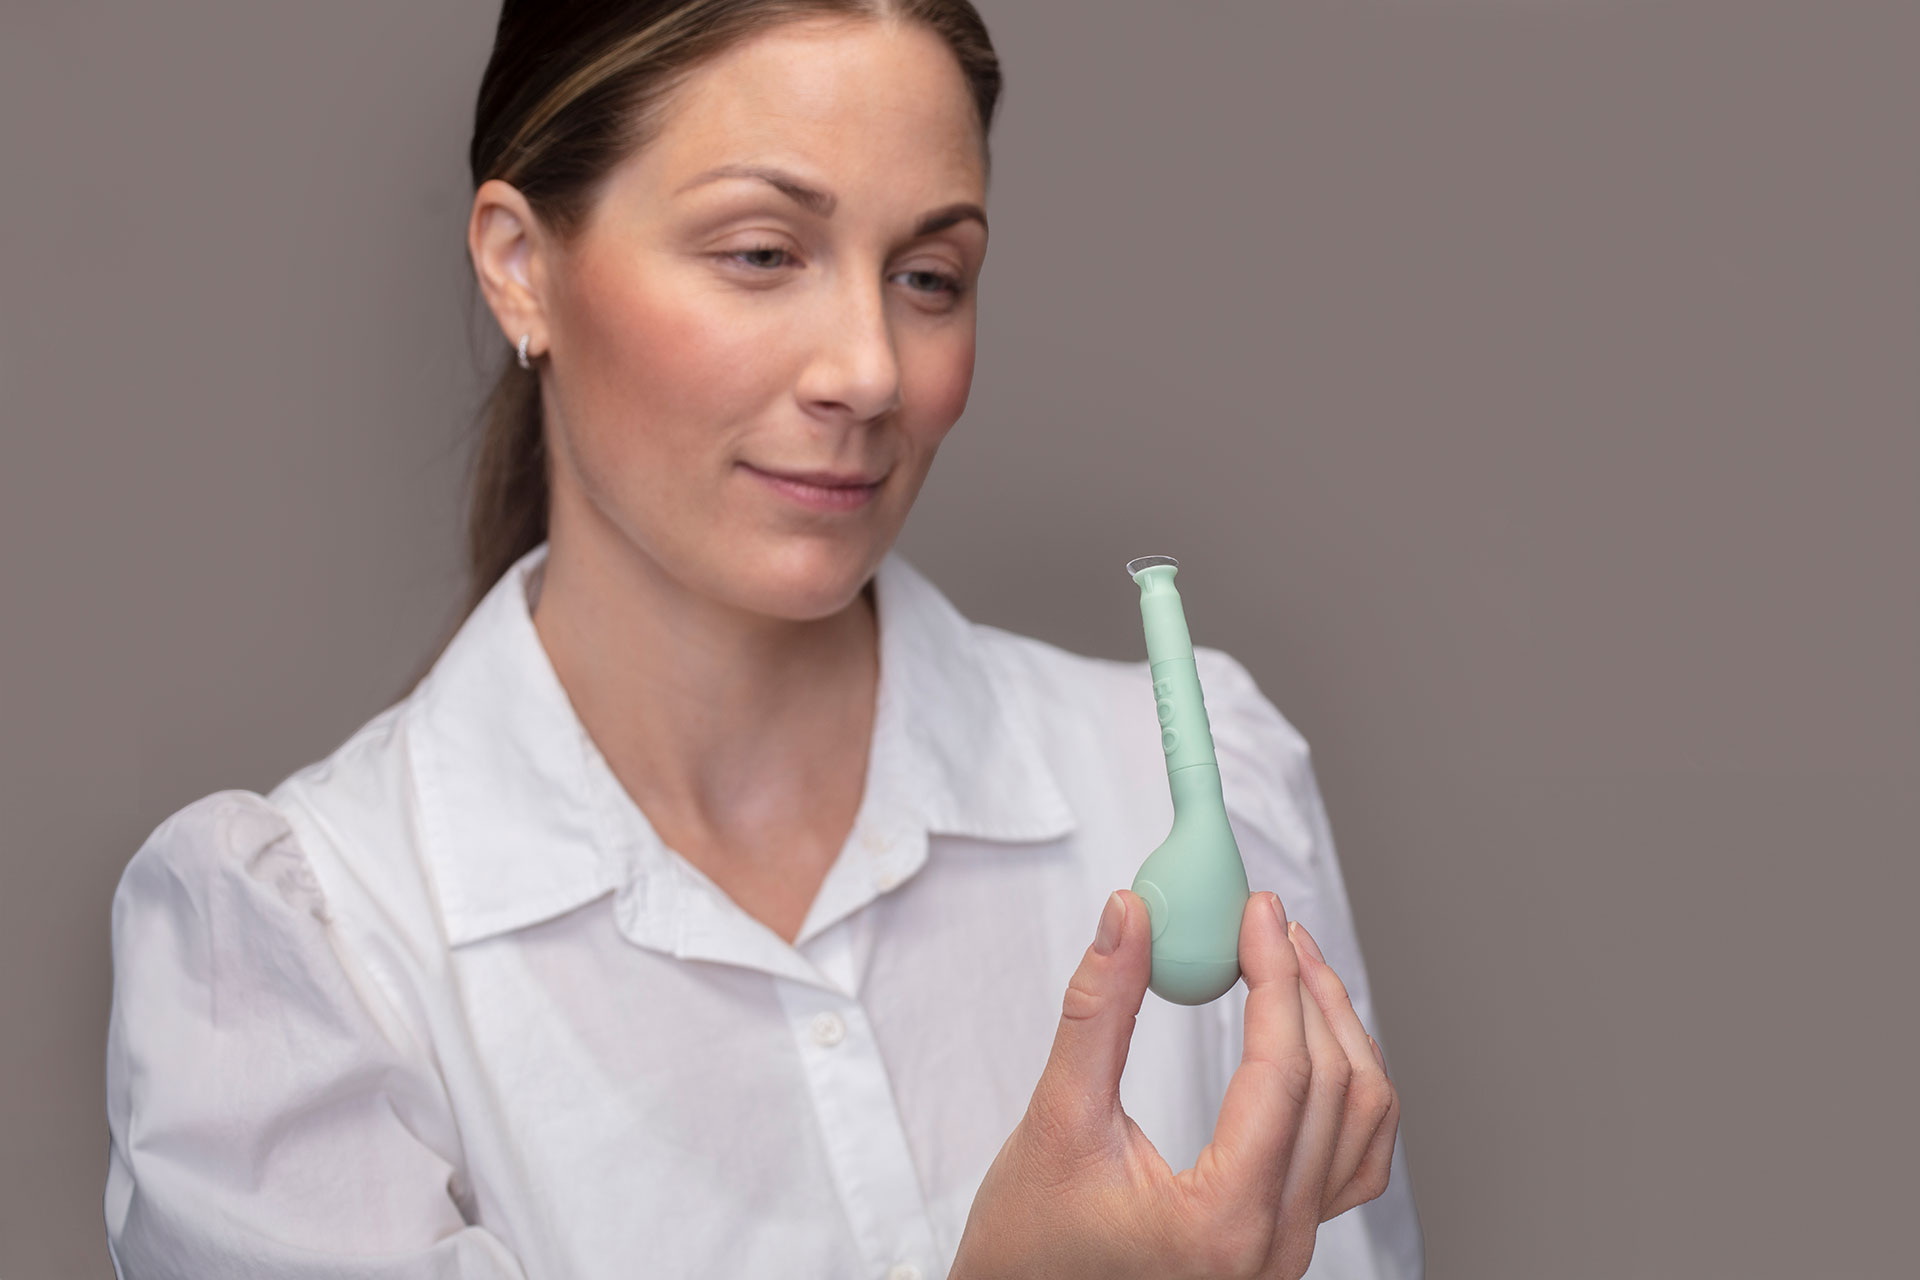
3. Hold the tool vertically, without squeezing the bellows, and place the contact lens in the “bowl” at the tip of the tool. The lens should only balance in the bowl; if it is held firmly, you have squeezed the bellows, creating a vacuum.
4. Bend your head over the mirror and hold it at about 90 degrees. With your free hand, hold the eyelids away from the eye while bringing the tool with the lens up to the eye so that the lens comes into contact with and rests on the eye. It may be necessary to give the lens a little push to make it settle on the eye. This is done by gently squeezing the bellows (the thick part of the tool).
NB! It is important that the lens is horizontal/level during insertion. For some people, it may be OK to change hands before putting on and/or removing the second lens.
Scleral lenses should be filled to the brim with physiological saline solution (purchased from an optician/pharmacy) before being placed on the eye.
Withdrawal:
1. Sit at the table with your head bent at about 90 degrees above the mirror.
2. Squeeze the bellows of the tool with the hand you are writing with, or the hand that is most steady. Start by squeezing a little at a time, you will need to test how much vacuum force is needed. Don’t be afraid to squeeze the bellows all the way in.
3. While holding the eyelids away from the eye with your free hand, guide the tip/”bowl” of the tool onto the upper half of the lens. Then release the pressure on the bellows. If there is enough vacuum force, the lens can be patiently “tilted” off the eye. If the tool releases from the lens, repeat the experiment with somewhat harder clamping of the bellows. It may be an option to bring the tool towards the lower half of the lens, but experience suggests that using the tool on the upper half is best. NB! It is important that the “bowl” on the tip of the tool is set perpendicular to the upper or lower part of the lens. The tip/”bowl” should not touch the eye..
Tip: if the lenses are “stuck”, drip your eyes with saline solution and blink a few times. Then attach the suction cup to the lens, bend your head back and look down, then try to tilt the lens off. It will usually come off.
Alternative procedure (applies to soft and dimensionally stable contact lenses, not scleral). In addition to lying down, the mirror can be tilted or hung on a wall.
Application:
Stand/sit in front of the mirror while squeezing the bellows “just a little”, just enough to create enough vacuum force to hold the lens in the “bowl”. Place the lens in the bowl and release the pressure on the bellows. With your free hand, hold the eyelids away from the eye while bringing the tool with the lens to the eye so that the lens contacts and settles on the eye. It may be necessary to give the lens a little push to make it settle on the eye. This is done by gently squeezing the bellows.
For some people, it may be OK to change hands before putting on and/or removing the second lens.
Withdrawal:
Many people find it difficult to put on and take off lenses at first. Trial and error is common! Be patient, ask for advice and remember that practice makes perfect.
Stand/sit in front of the mirror while squeezing the bellows just enough to create enough vacuum force for the contact lens to adhere to the tool. This is a trial and error process, so start carefully. With your free hand, hold the eyelids away from the eye while guiding the tool towards the upper part of the lens. Once the bowl is placed on the lens, release the pressure on the bellows. The contact lens now attaches to the tool and can be patiently “tilted” out of the eye. If the tool slips from the lens, the procedure must be repeated with somewhat greater clamping of the bellows, greater vacuum pressure. Do not be afraid to squeeze the bellows completely. Proceed carefully. The tip/”bowl” should not touch the eye.
Contact lenses are cleaned and stored according to the instructions provided by your contact lens fitter.
1.

2.
3.

4.

5.
6.
7.

8.
